Whenever you refinish a chair, don't expect it to be done quickly. Not if you want it done well. It takes a lot of time and patience but it is
oh so rewarding when you start to see the raw wood underneath.
WHAT YOU NEED
- A wood sanding sponge. My favorite kind has a rounded corner, a sharp angled corner and 2 right angle corners. These are great for sanding curves and nooks and crannies.
- A handheld electric sander.
- Various grits of sandpaper. (For this I started with a 100 grit and finished with a 220)
- Safety glasses
- Unless inhaling wood dust is your thing, a handkerchief to cover your nose and mouth.
 |
THE HARD TO REACH SPOTS
|
I painstakingly sanded the first side of the frame by hand, which took 6 hours and resulted in the loss of several of my fingerprints. On the next side I wised up. I used the electric sander for the majority, and sanded the hard to reach spots by hand. Praise the electric sander. It cut my sanding time down by more than half...and salvaged my remaining fingerprints.
 |
| ONE DOWN, ONE TO GO |
 |
| ALL DONE! |
 |
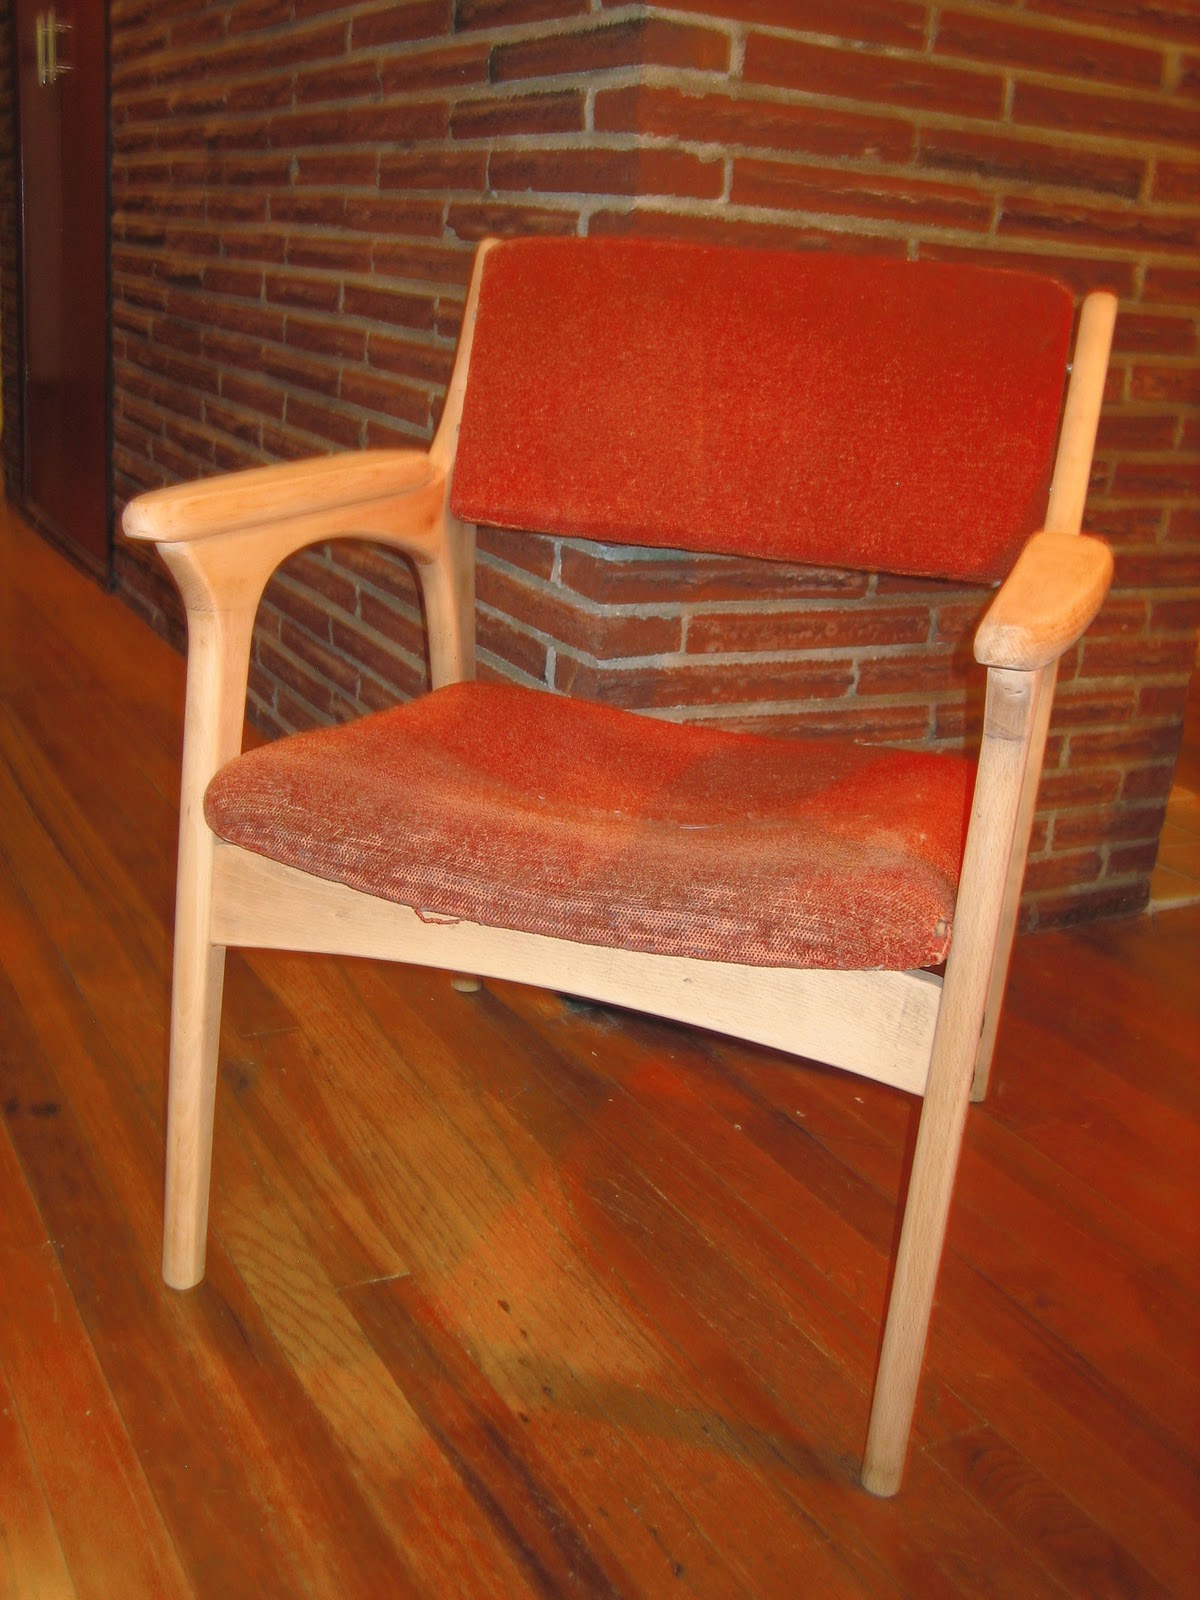
| REASSEMBLED WITH OLD UPHOLSTERY |
I sanded the entire frame with 100-150 grit paper first. Then, I went over it again with 220 grit to give it a smooth, even finish. Keep in mind that sanding with fine grit paper will effect the amount of stain that can penetrate the wood, giving it a lighter appearance. If needed, you can just do a few coats.
Stay tuned for the next installment!


No comments:
Post a Comment